Big Walk Hidden Room — Step-by-Step Route from Spawn
Published 2026-08-17Updated 2026-09-185 min read
The full route to Big Walk's hidden room in the underground: every turn from spawn with screenshots, what to unlock first, and the shiny paint waiting at the bottom.
Buried in the island's underground network is a hidden room — the only place with shimmer paint sticks, which makes it the mandatory stop for the Big Makeover achievement. The way there is a winding descent with a lot of look-alike corridors, so this guide walks every turn from spawn.
Before you go
The route's final stretch runs through the underground system, which stays locked until you clear the yellow tower and claim its key — the tunnel-unlock step in our beginner guide. No yellow key, no hidden room. Bring a lantern too: the last leg is unlit.
The route, turn by turn
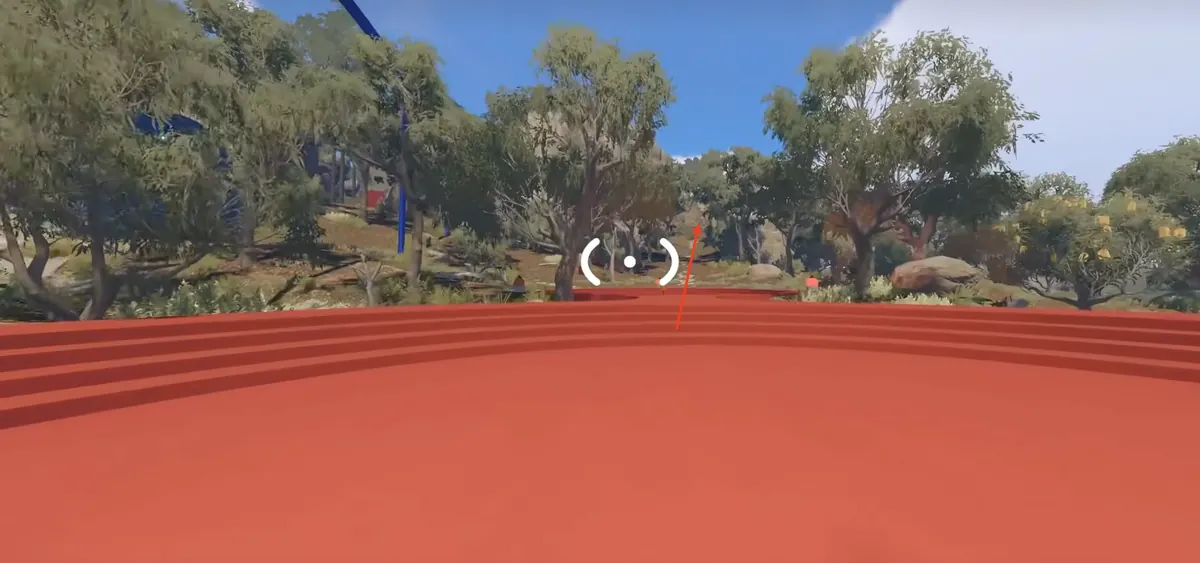
1. Leave spawn and follow the arrow. The path starts with a straightforward walk — keep to the heading shown below.
2. Turn left at the big tree and head downhill. At the path's end, a large tree marks the turn; the slope down is right beside it.
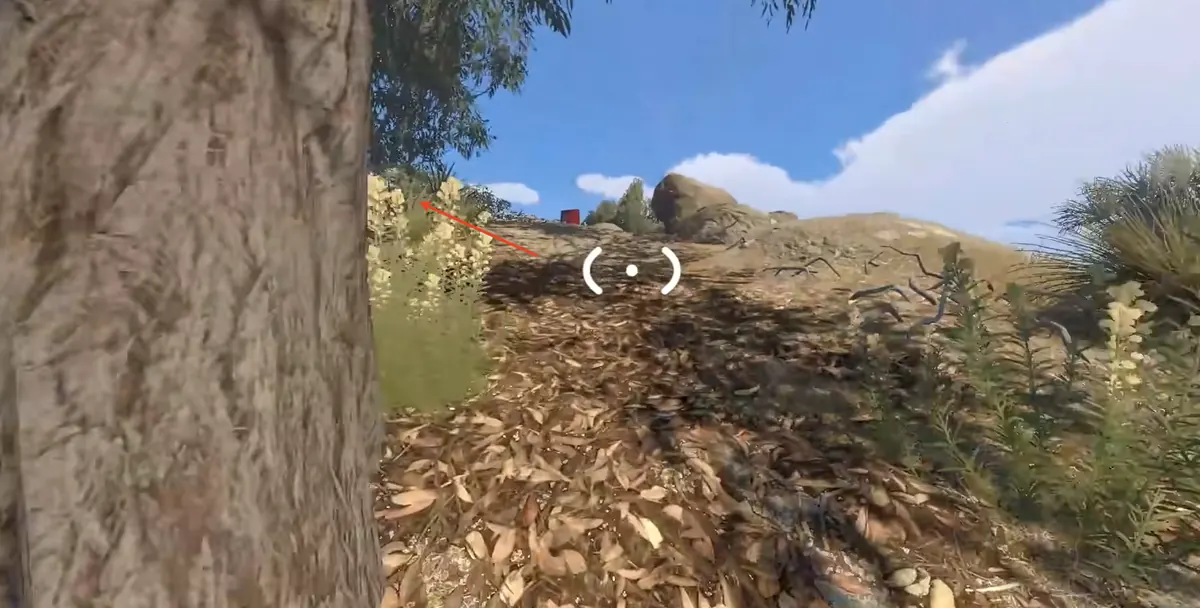
3. Enter the red building on the left. At the bottom of the slope, the red structure on your left houses the underground entrance — this is where the tunnel key requirement bites.
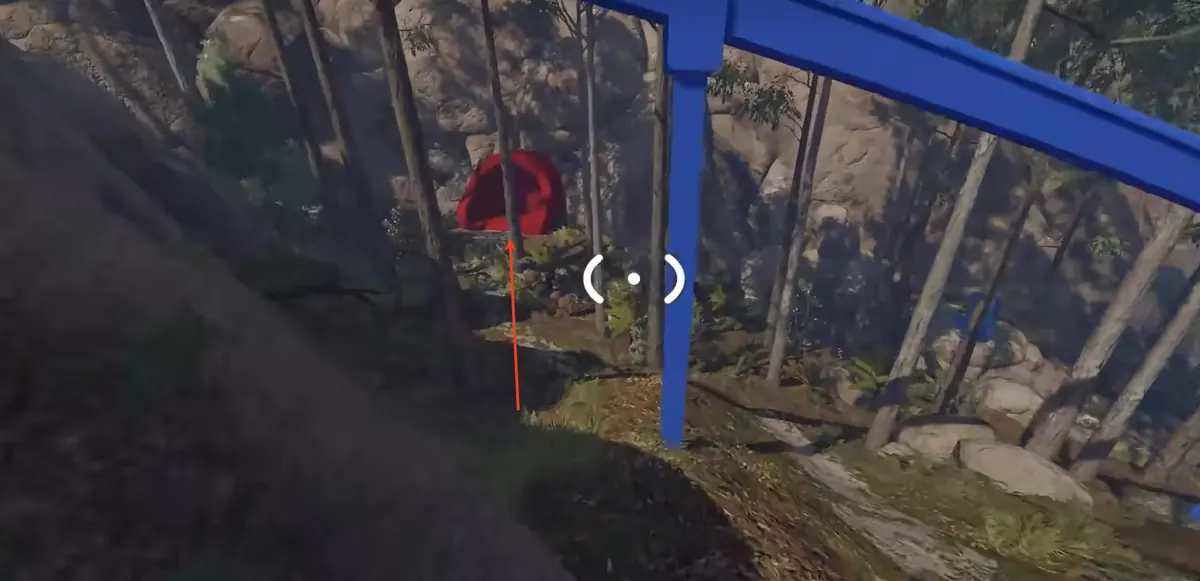
4. Follow the passage and take the stairs on the right. Inside, walk the corridor until it matches the screenshot, then climb the right-hand stairs.

5. Take the marked corridor. Up top, the correct passage is the one with the marking shown below — easy to overshoot if you are chatting.

6. Yellow corridor, then left. Continue into the yellow stretch and branch onto the left-hand passage.
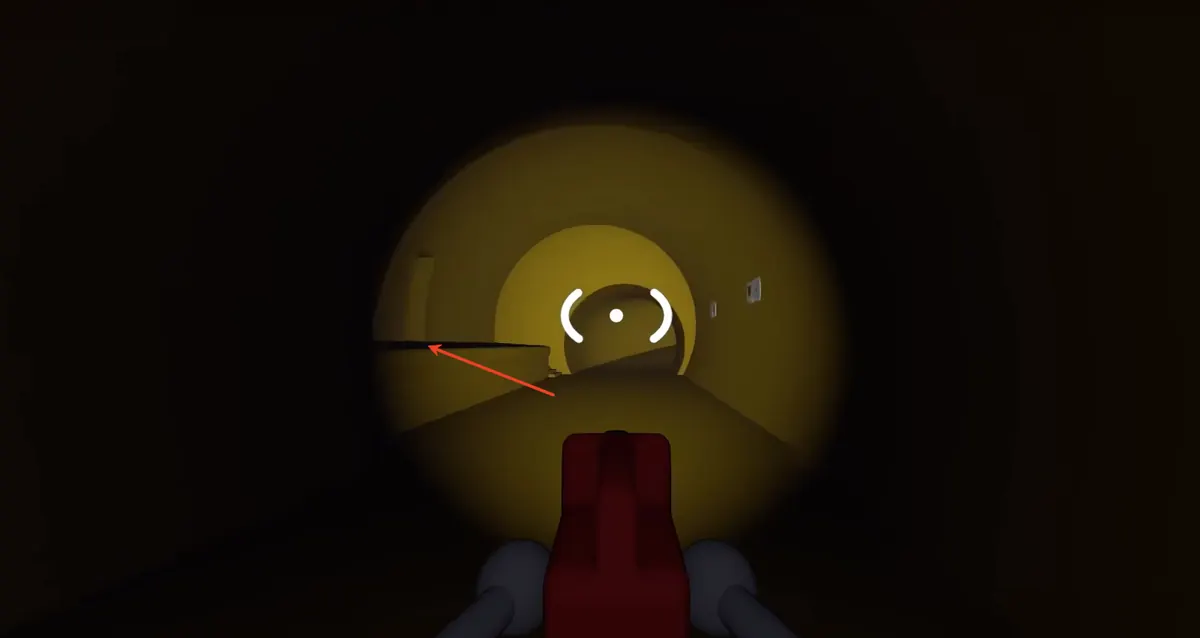
7. Through the glowing room, on toward green. The passage opens into a lit chamber. Pass the lamp on its right side and keep going until the walls turn green.
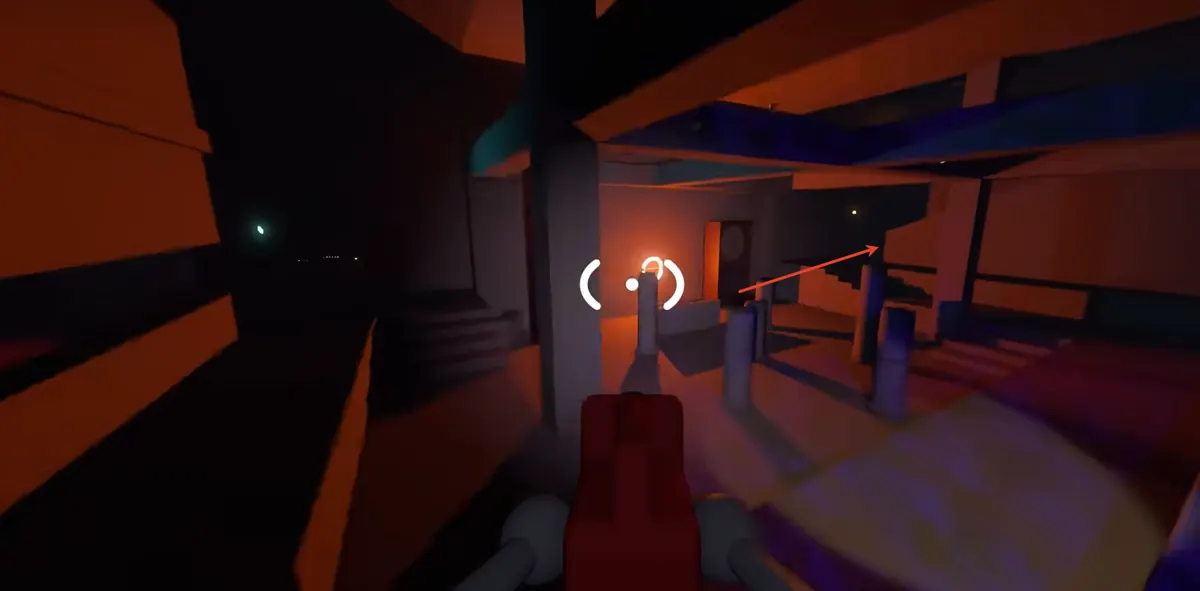
8. Red corridor on the right of the green room. From the green section, the red passage exits to the right.

9. Down the steps on your left. Follow the red corridor until steps descend on the left side.

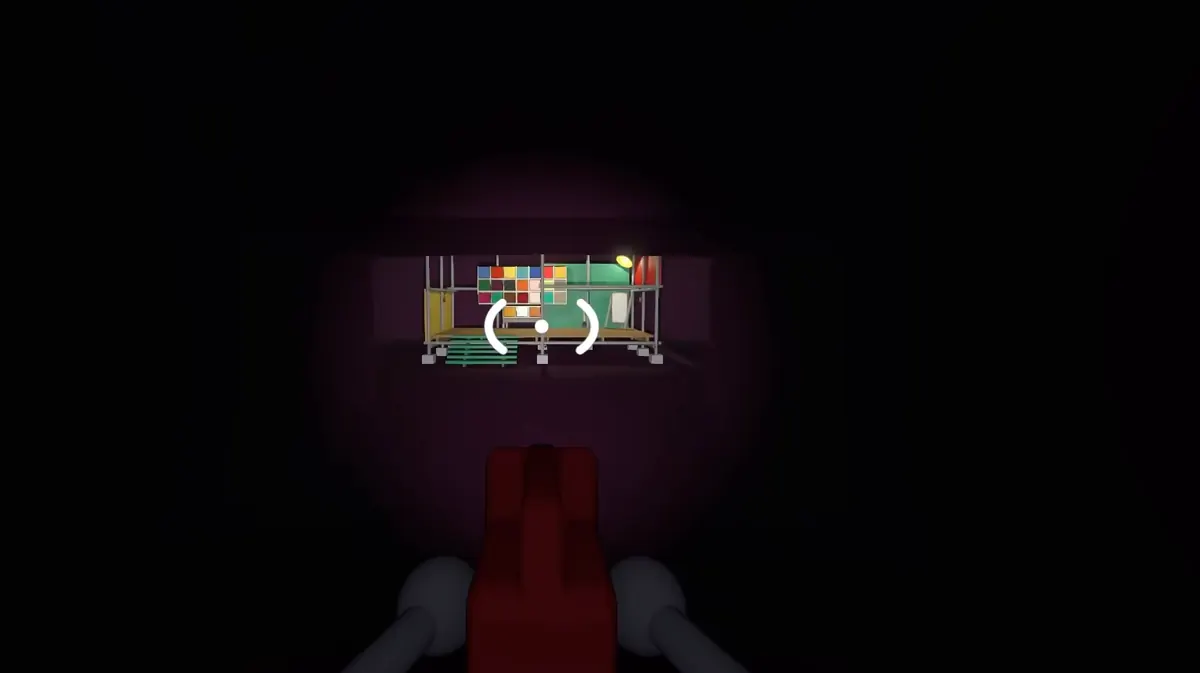
10. The bottom level is the hidden room. The descent ends in the island's most colorful dead end — paint sticks on the right, shiny coats for everyone.
While you are down there
The paint sticks unlock Big Makeover: dip, coat a teammate, three repetitions, done — the full routine is in the Big Makeover guide. And since the tunnels also hide the secret DJ booth, consider pairing the trip with radio channel #5 for a soundtrack on the way out.