Big Walk Beginner Tips — 10 Things to Know Before You Trek
Published 2026-08-13Updated 2026-09-187 min read
Ten practical Big Walk tips for new groups: why solo trekking stalls, the tutorial playground, lantern habits, proximity chat, flare rescues, arm signals, and shortcut unlocks.
Big Walk rewards groups that talk, plan, and poke at everything. After our first full island loop we kept notes on the habits that saved the most time — here are ten of them, roughly in the order you'll need them.
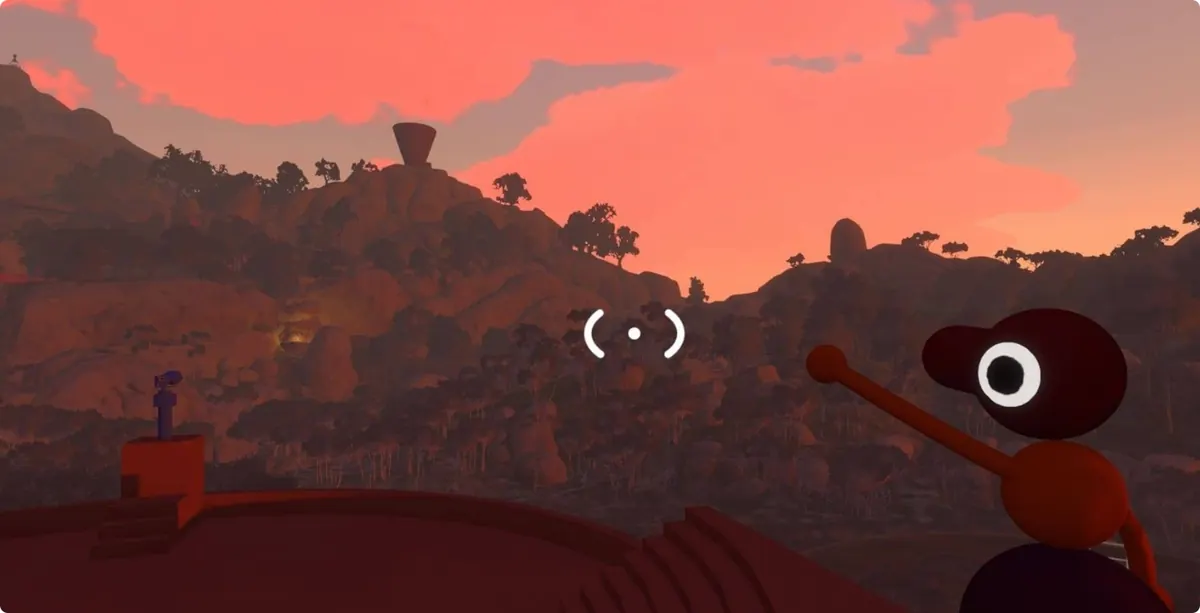
1. Treat co-op as the default, not an option
Big Walk is built for two to twelve players, and the overwhelming majority of its puzzles lean on teamwork. Only a handful of tasks can realistically be done alone — the basketball hoop puzzle near the red tower being a rare example — and even those go faster with company. Trying to solo your way across the island turns a breezy hike into a grind, so line up at least one friend before you start.
2. Do not skip the tutorial playground
The spawn area is a compact training ground: slides, buttons, light rigs, and grabbable props everywhere. It is where you learn how arms actually work, how mechanisms respond, and what your character can and cannot reach. Spend ten minutes throwing switches and climbing on things, pick up a lantern, and only then head into the wild. It is the cheapest insurance against early blunders.
3. Learn the lantern's quirks early
Lanterns spawn in the tutorial area, on hillsides, around towers, and beside puzzle sites across the map. Left-click picks one up and lights it; when setting it down, aim away from its stand — otherwise you will gently place it right back where it was. Beyond lighting dark corners, a parked lantern makes a great breadcrumb: drop one at any junction you might need to find again.
4. Remember that voice and text have a range
Built-in voice chat and text messages only carry about two or three meters. Stand close and everything comes through loud and clear; wander off and you fade to silence. That range doubles as a measuring tape — if a teammate's voice is crisp, you are close enough to interact.
5. Flares are the universal "I'm over here"
Separated? Find a flare terminal. They sit at predictable spots: the top of every tower, beside the map room, on the island's central peak, and on the ridge overlooking the purple music area. One button press fires a bright beacon that the whole group can navigate to. It beats twenty minutes of shouting into a canyon.
6. Know your long-range comms
Two tools cover distance. The radio transmitters blanket the entire map — hold the red microphone button and your voice reaches every receiver out there, making it the backbone of cross-island coordination. Megaphones are the close-second option: only a few exist, mounted on yellow blocks near the yellow tower, the green tower, and the purple tunnel, but they blast your voice across a whole region. Hand a walkie-talkie to every team member before you scatter.
7. Master arm gestures — they are a language
Arms are not decorative. Every gesture doubles as a signal your friends can read at a distance, and the tutorial playground is the place to drill them:
- Q raises the left arm; Q + left click stretches it out to the side.
- E raises the right arm; E + right click stretches it out.
- Q + E lifts both arms together.
- Q + left click + E + right click spreads both arms wide.
Assign meanings early — "one arm up means yes, both arms means come here" — and entire puzzle families get easier, because you can answer each other without saying a word.
8. Two players can become a ladder
Plenty of ledges exist purely for the lift: face a teammate until the white interaction ring appears, click, and you can hoist them overhead to stand on your head — or they can hoist you. Stacked like that you reach routes no solo climber can open. It is also the backbone of several late puzzles, so practice until it feels boring.
9. Expand your pockets as soon as you can
You start able to hold exactly one item, and round lanterns do not even count as pocketable. Blue ring-shaped buildings scattered around the island contain wearable backpacks and hip packs — equip one of each and you will carry a backpack item, a hip item, and one in your hands at the same time. The sooner your group is triple-loaded, the fewer shuttle trips every puzzle needs. Exact spawn points are cataloged in our backpack and hip pack guide.
10. Unlock the shortcuts, then abuse them
Two fast-travel layers exist. Gates dot the whole map — densest in the red region and around the central map room — and most can be triggered from a distance, with the map room also granting the portable map and compass. Later, the tunnel network links every region underground once you have the yellow key. Between gates and tunnels, no route on the island should ever take more than a couple of minutes. The tower order that unlocks all of it is laid out in our beginner guide.